How to use a WordPress website. (Mac)
Table of Contents
Add new products
Prepare your images
*Ensure your images are all the same ratio (e.g. all landscape, portrait, or square).
*Images are less than 1mb each.
*Ensure your images are at least 1000px wide (If we have built your website we will advise).
- To check your image size – Right click – Get info – Read.
- If too large open in Preview (Mac) > Tools > Adjust Image Size
*keep resolution: 100
Add product to wordpress
- Go to WordPress dashboard – https://yourdomain.com/wp-admin.
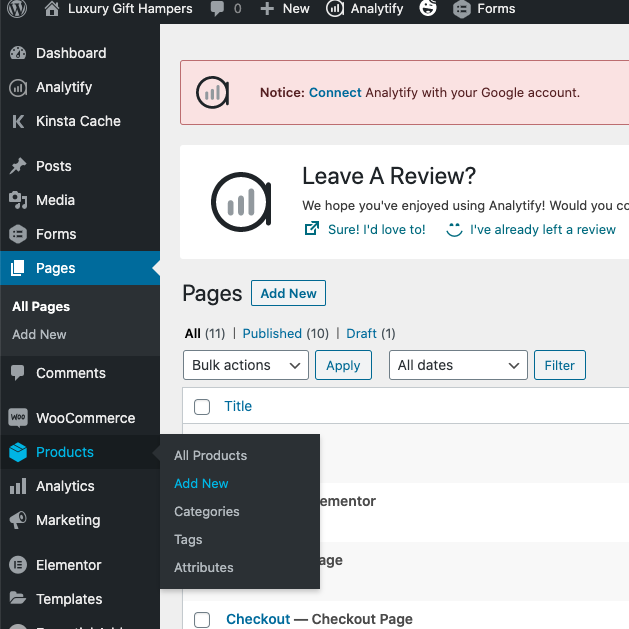
- Click Products > Add New
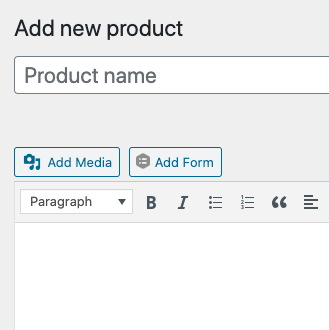
- Add Product Name
- The section below Product Name is for a lengthy description
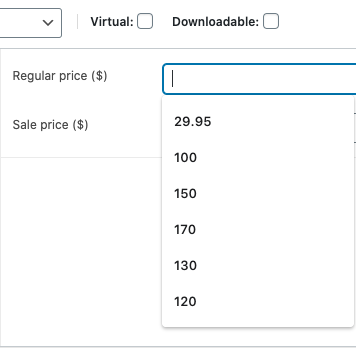
- Add Price
- Add Inventory
- Add Product Short Description
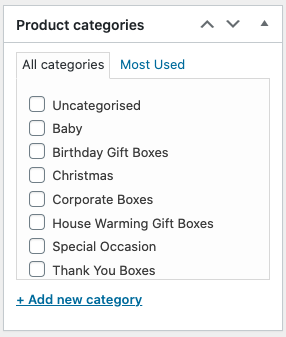
- Add Category
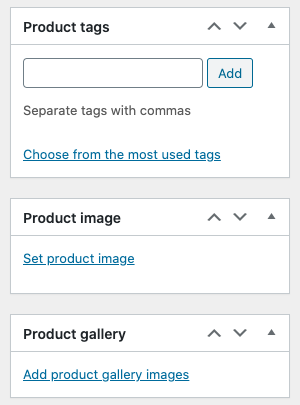
- Add Tags (if applicable)
- Add Product Image (this is the primary image)
- Add Product Gallery Images (these are supporting images)
- Click Publish
- Then check the URL and test 🙂
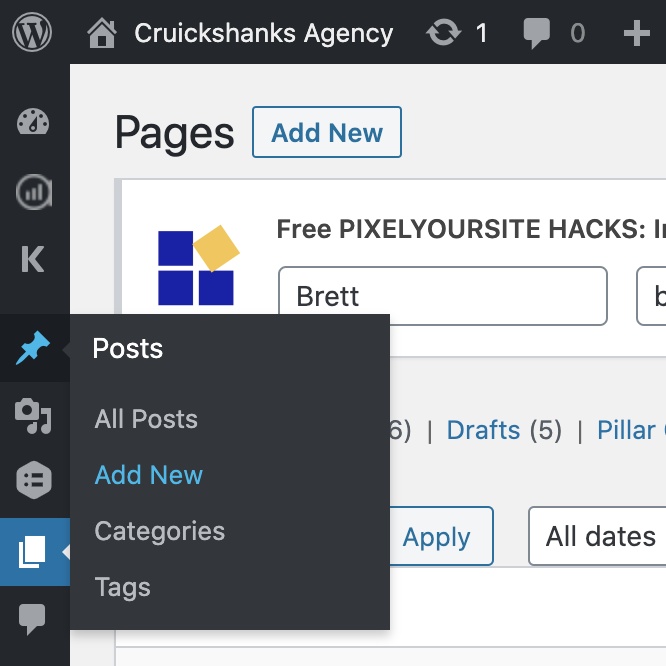
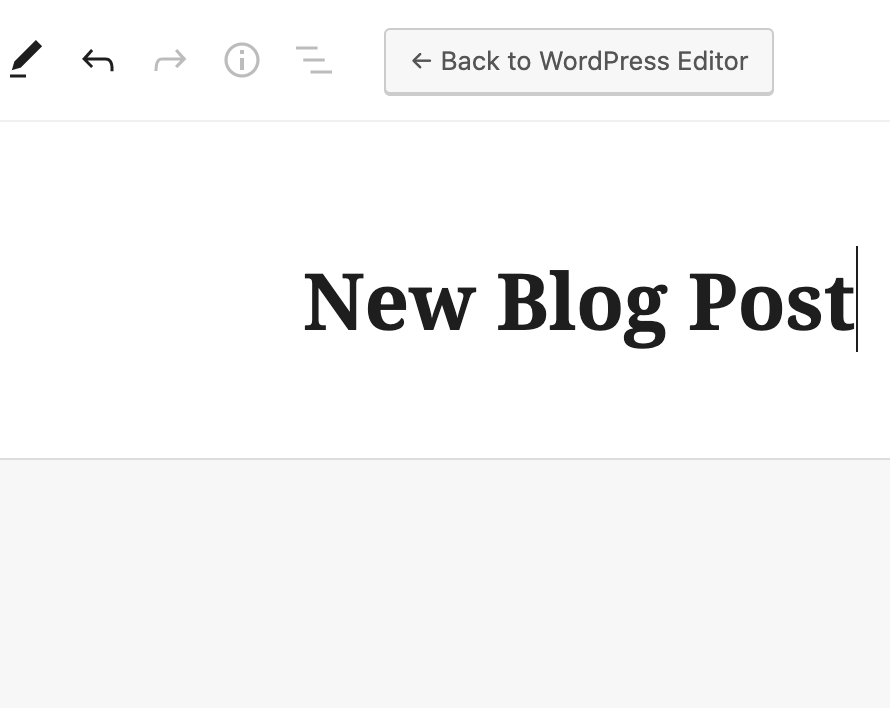
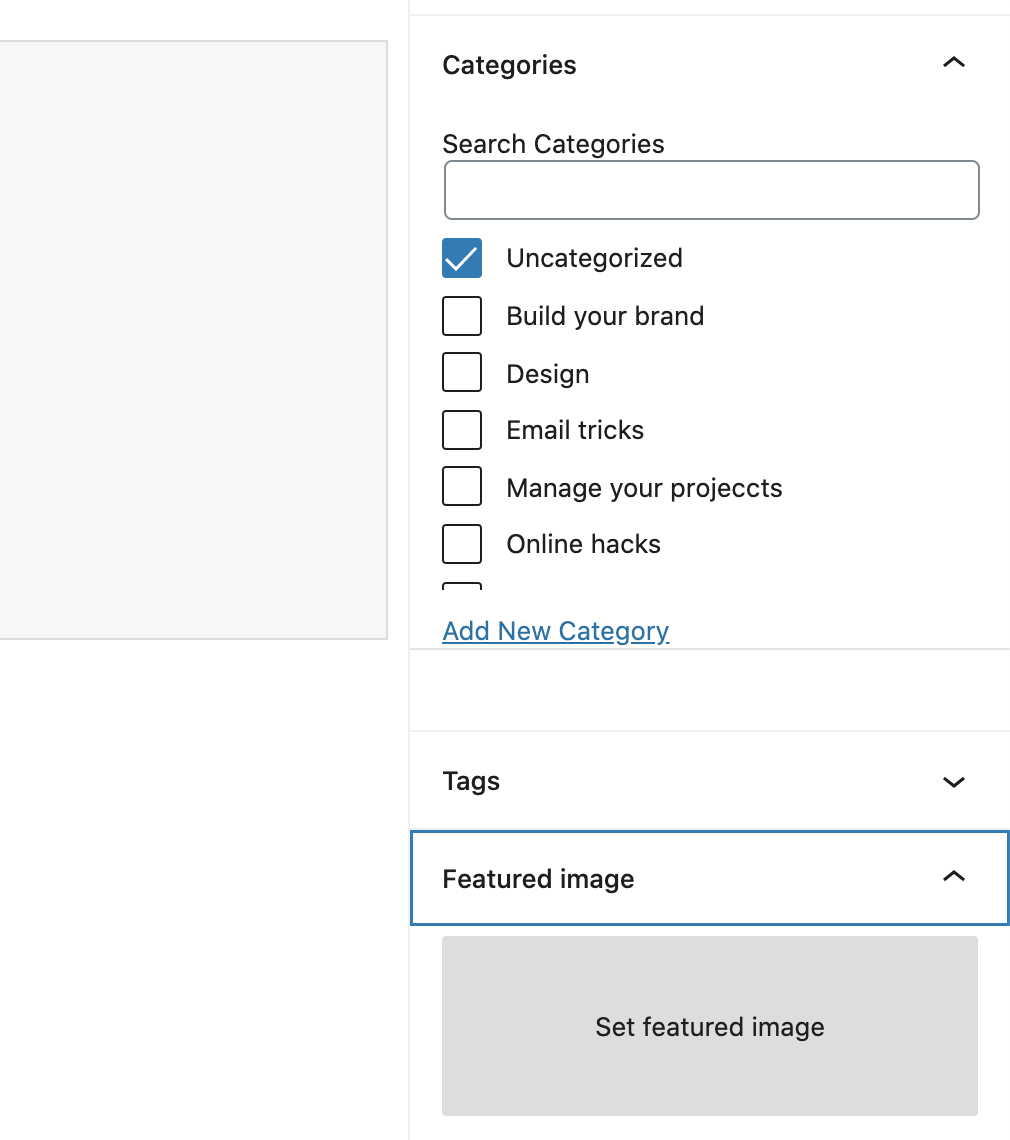
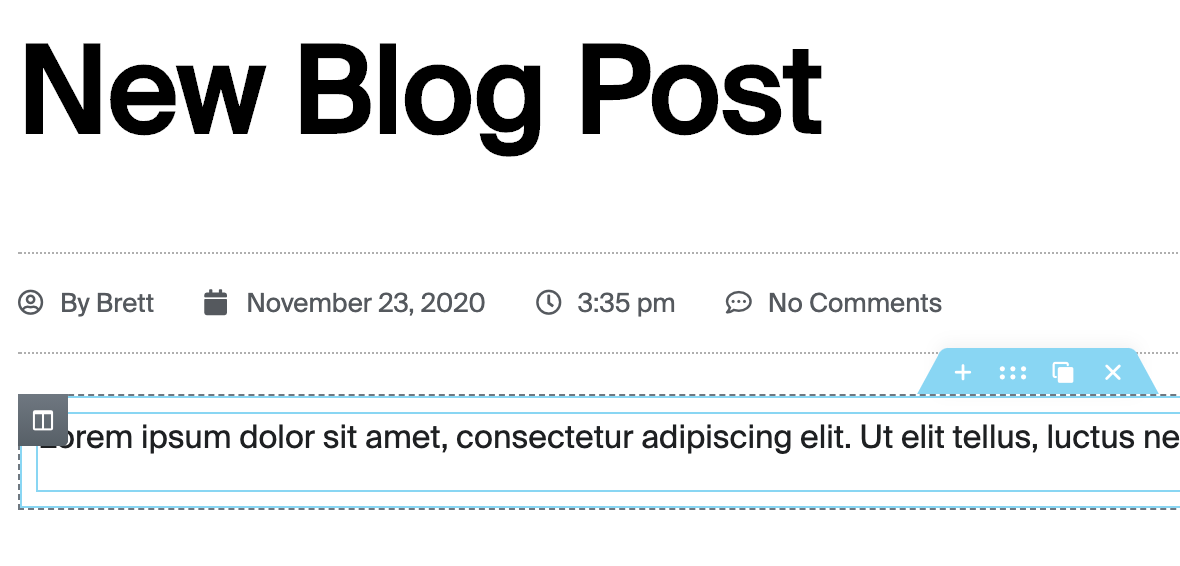


Add a Blog Post
*Draft your post in an unformatted editor (e.g. Notes for Mac)
- Log into your dashboard www.domainname.com.au/wp-admin
- Go to posts on the left sidebar
- Click new post
- Add title
- Add category
- Add a feature image (with specs provided by developer or to suit theme)
- Click edit with Elementor
- Click the folder button in editor
- Add a one column section
- Go to the widgets button
- Select and drag text editor widget into the section you added
- Paste your text into text editor on left side panel.
- Preview your post
- Click Publish
- Exit


How to change banner video/image
*prepare your video/image for upload.
Video
– less than 10-15 seconds
– 5mb max file size
– sized for 720p-1080p
Banner Images
– 2500px wide
– 1mb max file size
- Go to WP-Dashboard
- Click Media
- Add New
- Upload your prepared file
- Now click on your file in media library (for video only)
- Copy the File URL (for video only)
- Click Pages
- Select Home Page
- Select Edit with Elementor
- right click on banner video
- Select Edit Section
- Click Style tab on the left tool bar
- Select video or image as background type
- Insert the file URL of the video you copied earlier or select image uploaded
- Set background fallback


How to change fonts
Global Font Change – changing fonts throughout the entire site.
Specific Font Changes – changing one instance of the font.
- Click the hamburger menu. in the top left 🍔
- Select site settings
- Click Global Fonts 🌎
- Configure to suit
Specific Font Changes – changing one instance of the font.
- In the page editor.
- Right click the section you would like to change.
- Select Edit Heading.
- Select Title > Typography.
- Configure Family > Size > Weight etc.


Add Testemonials
Online Store Instructions (Woo Commerce)
How to change the price font
WP dash > Elementor tab > Theme builder > Single product page > Select price > Edit > Typography > Update.